Remote Raspberry Pi: VNC Setup For IoT Projects On Windows/Mac [Guide]
Ever wrestled with accessing your Raspberry Pi remotely, especially for those crucial IoT projects? The ability to control your Raspberry Pi from a Windows or Mac machine opens up a world of possibilities, but navigating the setup can be trickier than expected.
The dream is simple: seamless remote desktop access to your Raspberry Pi, allowing you to interact with it as if you were physically present. The reality, however, often involves wrestling with configurations, compatibility issues, and the ever-present quest for a truly free and reliable solution. This article will delve into how to achieve this, exploring the ins and outs of using VNC (Virtual Network Computing) to control your Raspberry Pi from a Windows or Mac laptop, focusing on accessible and straightforward methods.
| Topic | Remote Access to Raspberry Pi for IoT Projects |
| Operating Systems | Windows, macOS, Raspberry Pi OS (Debian) |
| Software Mentioned | TightVNC, RealVNC, TigerVNC, SocketXP, XFCE |
| Primary Access Methods | VNC, SSH |
| Additional Information | Details step-by-step instructions and alternatives for setting up remote access. |
| Relevant Link | Raspberry Pi Remote Access Documentation |
Let's begin by outlining the essential steps. Firstly, installing a TightVNC server on your Raspberry Pi is crucial. Simultaneously, you'll need to install a TightVNC client on your Windows or Mac machine. This pairing forms the foundation of your remote access setup. The next step is configuring the XFCE desktop environment on your Raspberry Pi. This lightweight desktop environment ensures smooth performance, especially when accessing your Pi remotely.
- Tamilblasters Alles Was Sie Ber Filme Domainnderungen Alternativen Wissen Mssen
- Filme Streamen Downloaden Legal Kostenlos Regional
Search queries such as "Pi IoT VNC viewer free Windows 10" often lead to a dizzying array of options, each promising a seamless remote desktop experience. While the intention is good, the execution can be complex. Many users find themselves lost in a sea of configuration settings, firewall adjustments, and network troubleshooting. But do not worry it is easy to tackle.
Now, lets dive into the practical aspects of accessing your Raspberry Pi desktop from a Windows PC. This process involves several key steps, each critical to establishing a stable and secure connection. Begin by ensuring that VNC is enabled on your Raspberry Pi. This can typically be done through the Raspberry Pi Configuration tool, accessible from the Raspberry Pi desktop environment. Look for the VNC option, usually located under the Interfaces tab, and enable it.
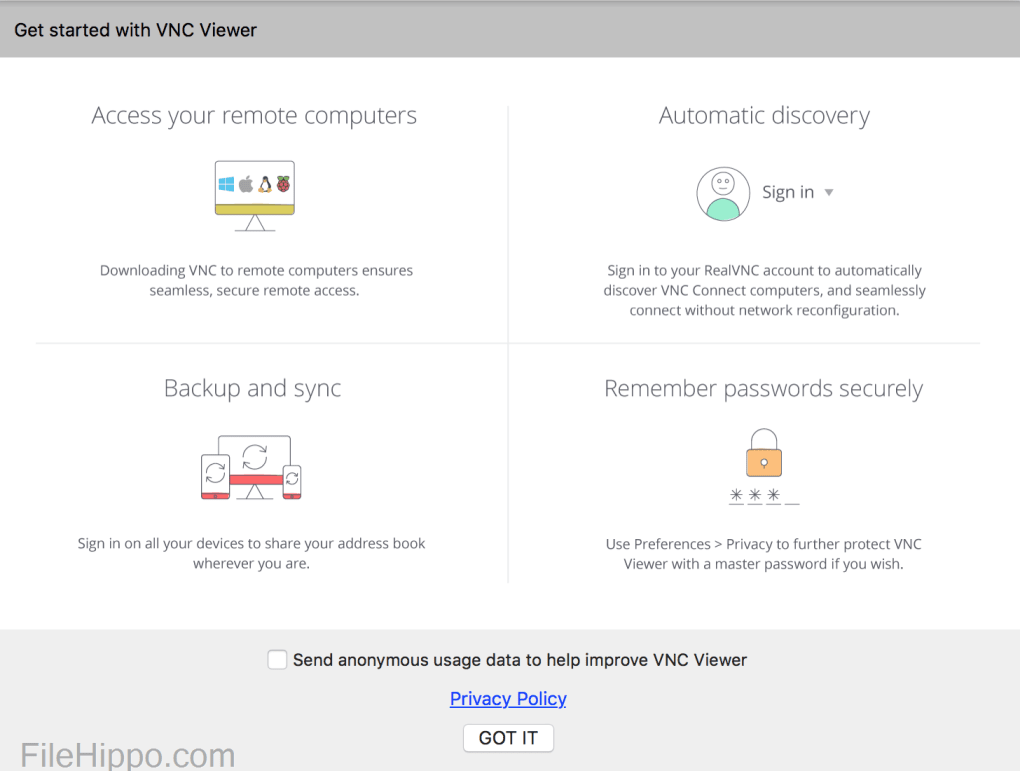
Next, you'll need to install a VNC viewer on your Windows 10 PC. Several options are available, each with its own set of features and capabilities. RealVNC Viewer for Windows is a popular choice, known for its security and reliability. You can download RealVNC Viewer directly from their website. However, other VNC viewers, such as TightVNC and TigerVNC, are also viable alternatives. Choose the one that best suits your needs and preferences.
- Vegamovies Deine Quelle Fr Vegane Filme Amp Dokus Entdecke Sie
- Filme Serien Kostenlos Streamen Die Besten Tipps Alternativen
Once you've installed your chosen VNC viewer, launch it and prepare to connect to your Raspberry Pi. To do this, you'll need the IP address of your Raspberry Pi. If you're unsure of the IP address, you can find it by running the command "hostname -I" in the Raspberry Pi terminal. This will display the IP address assigned to your Raspberry Pi on your local network. Enter this IP address into the VNC viewer, along with the appropriate port number (usually 5900), and click "Connect."
You may be prompted to enter your Raspberry Pi's username and password. These are the same credentials you use to log in to the Raspberry Pi desktop environment. Once you've entered the correct credentials, the VNC viewer will establish a connection to your Raspberry Pi, and you'll be able to see the Raspberry Pi desktop on your Windows PC.
For added security and convenience, consider using a secure and lightweight SocketXP IoT agent on your Raspberry Pi. The SocketXP agent securely connects to the SocketXP IoT cloud gateway via an SSL/TLS tunnel, providing an encrypted connection for your remote access sessions. This helps protect your Raspberry Pi from unauthorized access and ensures that your data remains secure.
Let's consider the scenario where you need to access your Raspberry Pi over the internet. In such cases, you'll need to configure port forwarding on your router or use a service like ngrok to create a secure tunnel to your Raspberry Pi. Port forwarding involves configuring your router to forward traffic from a specific port on the internet to the IP address of your Raspberry Pi on your local network. This allows external devices to connect to your Raspberry Pi through your router.
Alternatively, you can use ngrok to create a secure tunnel to your Raspberry Pi. Ngrok is a service that allows you to expose local servers to the internet. By running ngrok on your Raspberry Pi, you can create a secure tunnel that allows you to access your Raspberry Pi from anywhere in the world. This is particularly useful if you don't have control over your router or if you need to access your Raspberry Pi from multiple locations.
Beyond these methods, another approach involves utilizing the Remote Ripple for Windows. This new-generation free VNC solution offers a user-friendly interface and streamlined setup process, making it an attractive option for those seeking a hassle-free remote access experience. Remember, the free version is typically for personal use only, meaning it's perfect for connecting your personal devices or assisting friends and family with remote support.
For those operating within a local network, the setup is generally more straightforward. Many users, including those happily running RealVNC Viewer 7.13.1, find that an account or plan isn't necessary for accessing their Raspberry Pi over their local network. This simplifies the process and eliminates the need for complex configurations.
However, it's important to acknowledge potential challenges. Some users have reported issues with screen rotation and mouse input axis when using VNC viewers like RealVNC Viewer on Windows 10. Unfortunately, a rotate option isn't always readily available within the viewer itself, requiring alternative solutions or workarounds. The issue is clearly vnc server under plasma desktop.
On the Raspberry Pi side, the TightVNC server runs discreetly in the background, awaiting connections from your chosen VNC viewer. Installing a VNC viewer on the Raspberry Pi itself allows you to connect to other machines, expanding the versatility of your setup. To connect to a Windows PC from your Raspberry Pi, you'll need to install VNC client software, also known as a VNC viewer.
Once your Raspberry Pi is configured for remote access, the next step is to connect to it from your Windows. If your Raspberry Pi isn't visible, you can connect directly using your Pis IP address. With VNC set up, you can interact with your Raspberry Pi as if you were sitting right in front of it, making it an invaluable tool for remote IoT applications.
The TightVNC server is now running in the background, ready for connections from your Raspberry Pi. With VNC set up, you can interact with your Raspberry Pi as if you were sitting right in front of it, making it an invaluable tool for remoteiot applications.
Once your raspberry pi is configured for remote access, the next step is to connect to it from your windows, Basically i have tightvncserver 64 bit installed on laptop. I have installed xtightvncviewer on pi. i have found that if i run the viewer and put in the local ip address i can log on to my laptop. this all sounds great except i found that if i turn off my internet on my laptop by clicking on the internet access at the bottom of the pc.

Detail Author:
- Name : Dejah Brown MD
- Username : mallory.kessler
- Email : effertz.alex@gmail.com
- Birthdate : 1990-04-19
- Address : 24769 Gutmann Landing Jessicaton, UT 17289-9961
- Phone : +1 (620) 376-9079
- Company : Bednar and Sons
- Job : Home
- Bio : Fuga reprehenderit accusamus porro vel. Sapiente sunt aliquid provident sit culpa. Rerum repellendus cupiditate omnis velit debitis aut maiores.
Socials
linkedin:
- url : https://linkedin.com/in/nicholas2138
- username : nicholas2138
- bio : Minus delectus magni ad eligendi sint mollitia.
- followers : 1109
- following : 857
instagram:
- url : https://instagram.com/carter2016
- username : carter2016
- bio : Quia doloremque sit sit rerum fugiat enim tempore iure. Dolor sit dolore sed beatae voluptas.
- followers : 4058
- following : 1314
